
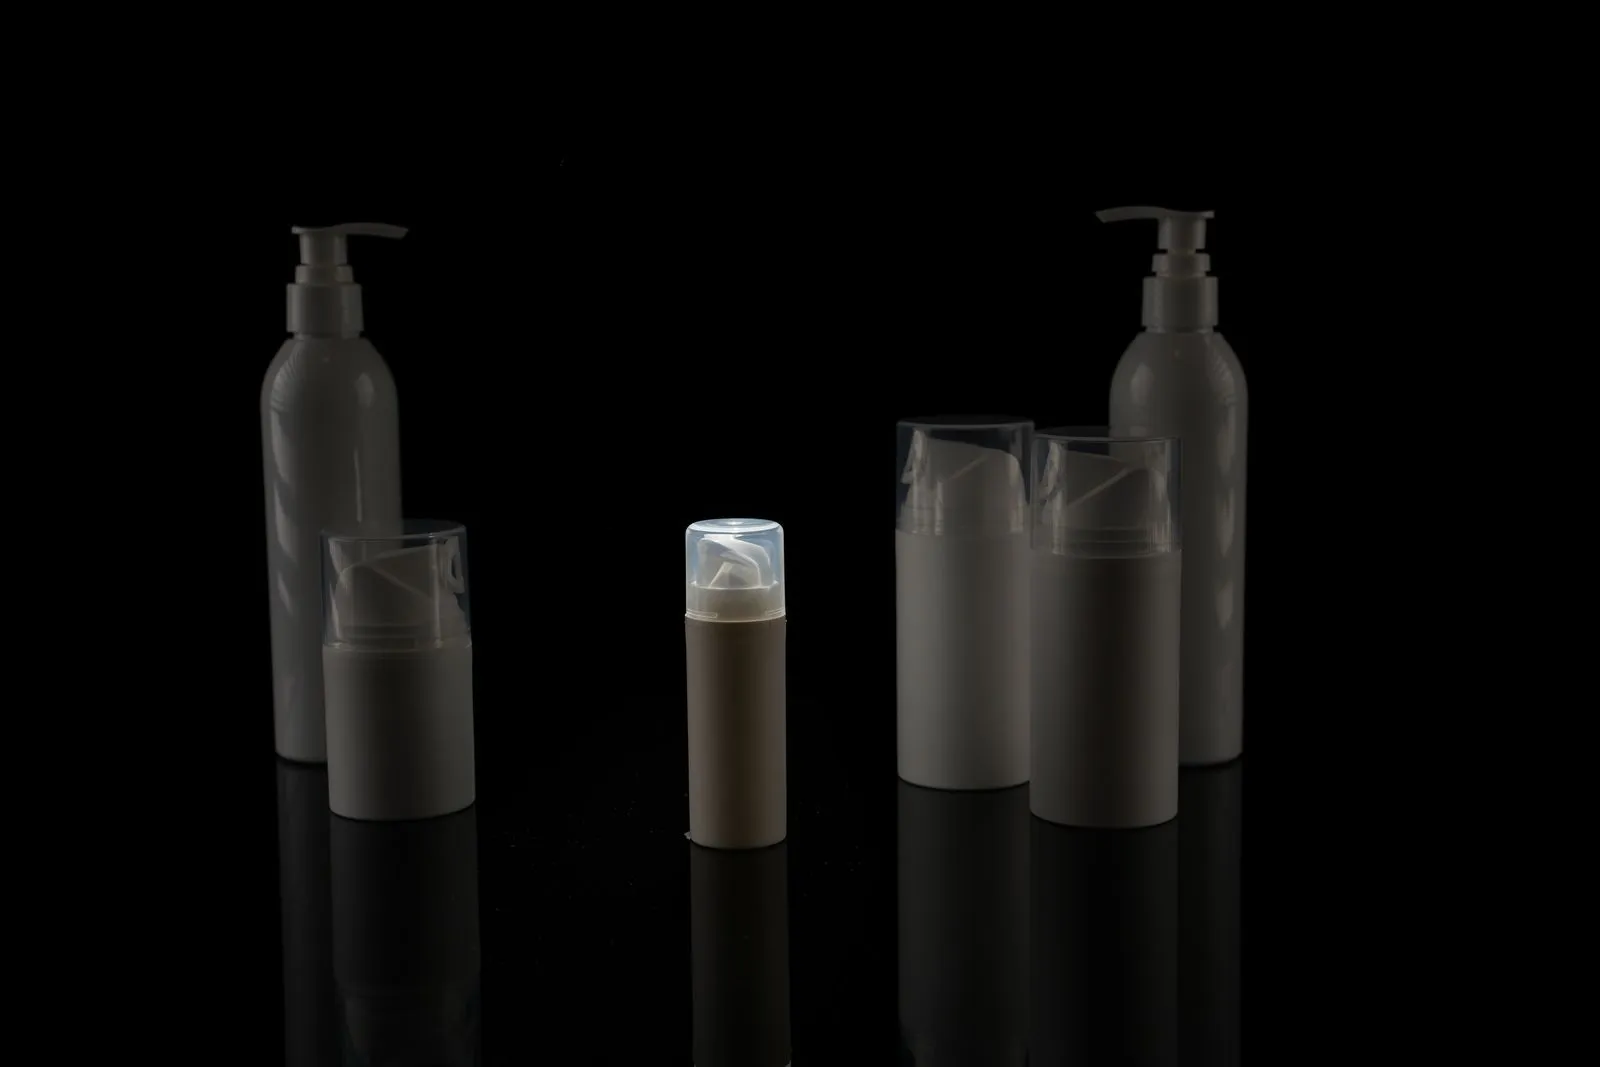
Online shoppers cannot pick up an item, inspect its finish, or compare its size in person. Your listing images need to bridge that gap. Start by choosing views that show the product clearly, then add close-ups and context that answer likely questions. For Tacoma sellers, a planned image set can also make products easier to present consistently across a website, marketplace, and social channels. Use this guide to decide what to photograph before you set up a shoot.
Start With The Main View
Choose a lead image that shows the complete product without distractions. Photograph it straight on or at a slight angle that reveals its shape, and leave enough space around the edges for different listing layouts. Use a clean, uncluttered background and even lighting so the product stands out. Check the platform’s image requirements before shooting, including its preferred orientation, file format, and crop.
Make the first image easy to understand at thumbnail size. Keep props out unless they are essential to showing how the item works, and avoid cropping off handles, lids, or other defining parts. If the product comes in several colors or versions, make the selected option obvious. The lead image should show what the customer will receive, not a styled scene that could create confusion.
Show Useful Angles
Add views that reveal the product’s form and construction. Depending on the item, useful angles may include the front, back, side, top, or an open view. For a container, show the lid and interior. For clothing, show the front and back, plus a view that makes the fit or drape easier to judge. Select angles based on what a customer needs to know, rather than repeating nearly identical shots.
Keep the product’s appearance consistent across the set. Use similar lighting, background, and color treatment so shoppers can compare views without wondering whether the item has changed. If you photograph multiple versions, arrange or label images in a way that makes each variant clear. Avoid relying on text overlays to explain details that a straightforward photograph can show.
Add Close-Ups And Scale
Use detail shots to show features shoppers may want to inspect before buying. Photograph texture, stitching, finishes, controls, labels, connectors, closures, or other important parts in focus. Include a close-up only when it adds information; a tight crop should not make a small feature look larger than it is. If a flaw or variation matters to the purchase, show it accurately rather than hiding it.
Help buyers judge size with a clear measurement graphic or a contextual view, when the listing platform allows it. A product photographed beside a familiar object can provide a rough sense of scale, but include dimensions in the listing and do not ask the image to replace them. For products with multiple pieces, show what is included and photograph the components in a way that distinguishes them.
Build A Complete Image Set
Plan images around buyer questions: What does it look like from every important side? What is it made of? How large is it? What arrives in the package? How is it used or assembled? A simple shot list helps cover those questions without creating a crowded gallery. For a set, include an organized overview and individual views of pieces that might be difficult to identify.
Before publishing, review every image at full size and as a small thumbnail. Check for blur, glare, distracting reflections, inaccurate color, and dust or marks on the product. Confirm that the images match the exact version being sold and follow the platform’s rules. Tacoma Packshot Studio can help sellers plan and photograph a listing set when they want professional support.
A strong listing gallery combines a clear lead image, distinct product angles, honest detail shots, and views that explain scale and included parts. Choose each image to answer a real customer question, then check that the set is consistent and accurate. Make a shot list before your next product shoot, or reach out to Tacoma Packshot Studio to discuss your image needs.